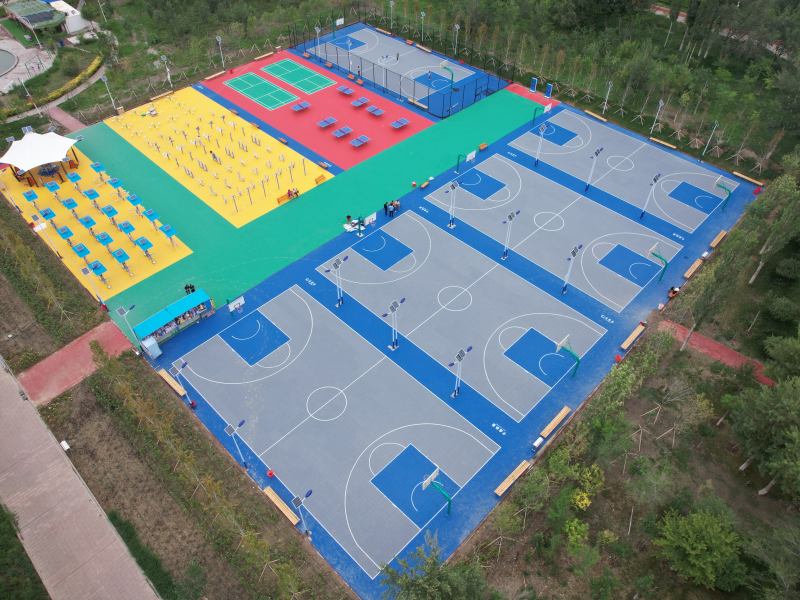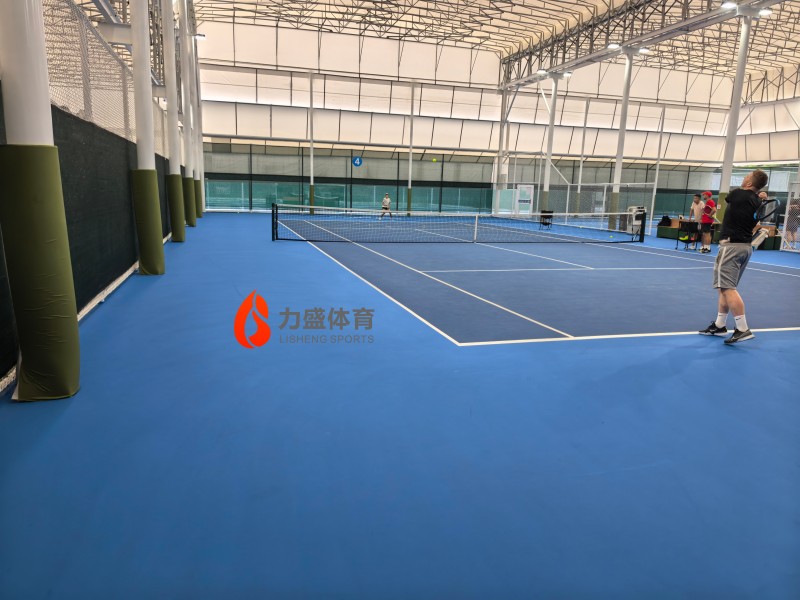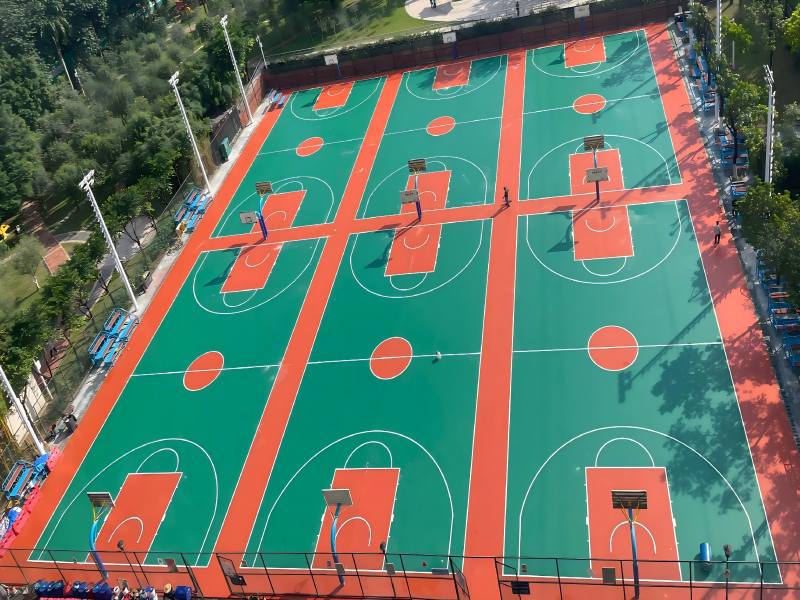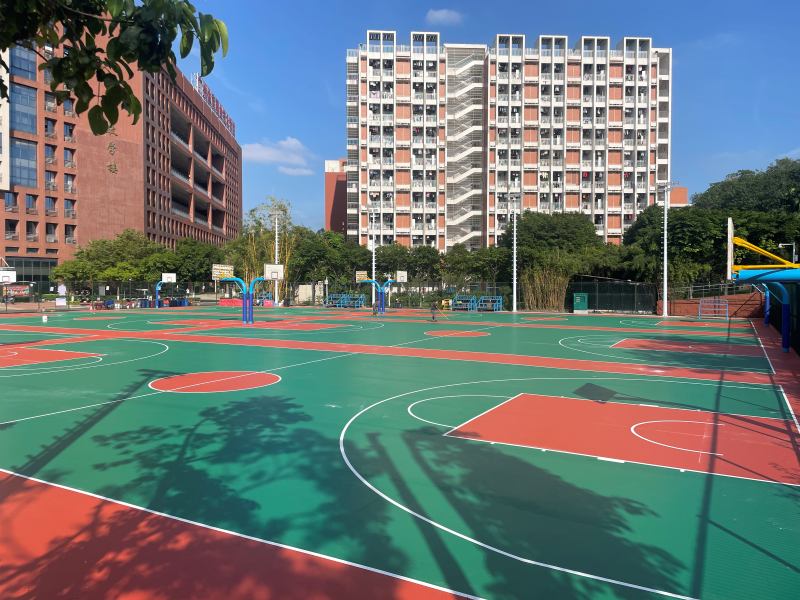
Silicon PU (SPU), also known as nano silicon PU, is one of the most popular choices for outdoor basketball courts in 2026. It offers excellent shock absorption, joint protection, UV resistance, and durability in hot/humid climates — making it ideal for schools, community centers, and professional venues in Southeast Asia, Africa, the Middle East, and beyond.
Proper installation on a cement (concrete) base is critical for longevity (8–12+ years) and performance. Poor base prep or rushed layers can lead to bubbling, peeling, or uneven surfaces.
At Lisheng Sports, we provide high-quality Silicon PU materials with full technical support. This guide outlines our proven nano silicon PU field surface construction method for cement bases — a professional, multi-layer process that ensures seamless results.
Important Safety & Prep Notes Before Starting
- Work in good weather: Avoid rain, extreme heat (>35°C), or high humidity during application.
- Ensure the cement base is at least 28 days old, fully cured, solid, and free of oil/grease.
- Wear PPE (gloves, masks, goggles). Provide good ventilation (especially indoors).
- Tools needed: Grinder/polisher, roller (medium nap), notched trowel/rake, electric mixer, measuring tools, masking tape, cleaning supplies.
- Consumption estimates: Waterproof primer ~0.2 kg/m²; Elastic layer 1.2–1.8 kg/mm thickness; Interface agent + topcoat as specified.
- After full installation, allow at least 5–7 days curing before use (no foot traffic or play).
1. Construction Process Overview
- Base Treatment (Waterproof Primer)
- Elastic Layer Construction
- Topcoat / Finish Layer Construction
- Line Marking
- Final Cleaning & Acceptance Inspection
2. Detailed Step-by-Step Installation
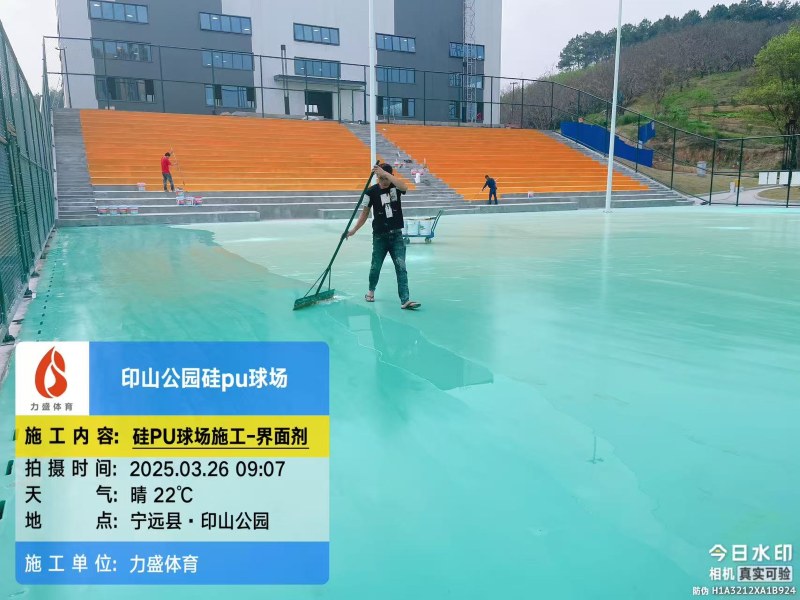
Step 1: Base Treatment (Waterproof Primer – ~0.2 kg/m²)
A clean, sealed cement base prevents bubbles, delamination, and moisture issues.
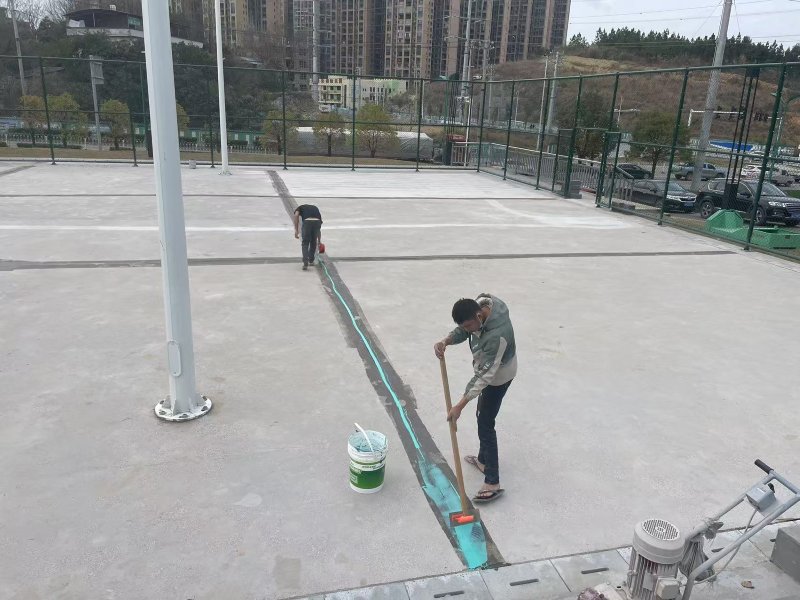
- Grind & Clean the Surface Use a water grinder/polisher to remove loose particles, old coatings, and create a rough profile for better adhesion. Wet the surface with clean water, then apply ~5% diluted hydrochloric acid (HCl) solution. Scrub thoroughly to etch and clean. Rinse multiple times with plenty of water until no acid residue or white powdery efflorescence remains. Check for flatness and slope: Pour water to spot pooling areas; mark low spots with a marker for later repair. Allow the base to dry completely (no visible moisture). Final surface must be solid, dry, clean, flat, and free of dust/powder/oil.

- Apply Sealing / Waterproof Primer Roll or brush the primer evenly across the entire surface using a medium-nap roller. This seals pores, improves bonding strength, and prevents air bubbles in later layers. Areas with high absorption may need 1–2 extra coats (wait for each to dry before recoating). Cure time: Typically 1–2 hours (cement) or up to 12 hours (depending on humidity/temperature). Proceed only when fully dry and tack-free.

- Fill Expansion Joints & Repair Defects Clean all cracks/expansion joints thoroughly. Apply a thin coat of single-component sealer/primer inside. For deep/wide joints: Fill partially with rubber granules as backing, then top with elastic filler (single-component moisture-cure material). Mix well before use. Patch any depressions or holes with repair mortar or elastic compound. Sand smooth once cured.
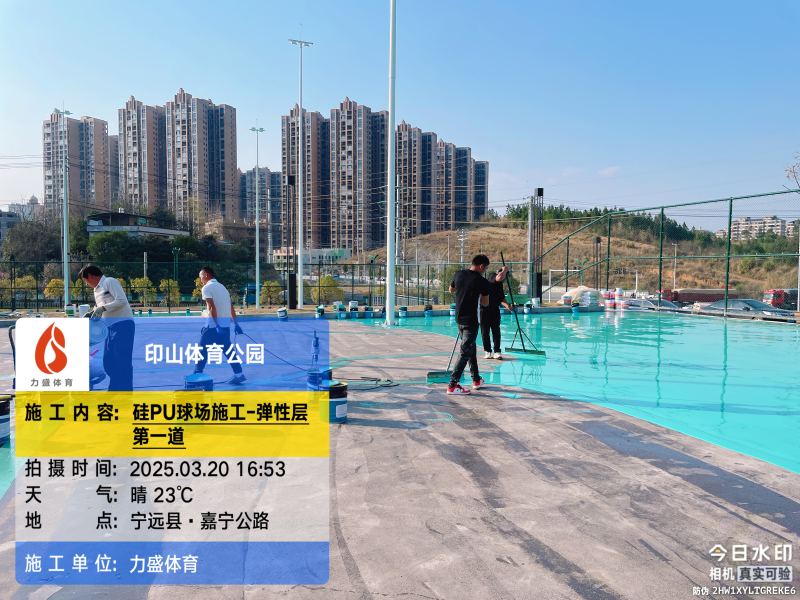
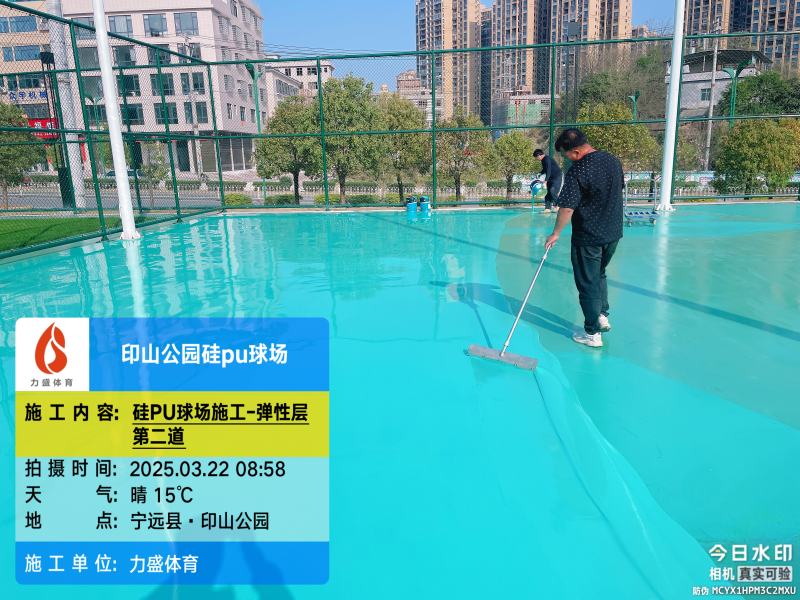
Step 2: Elastic Layer Construction (~1.2–1.8 kg per 1 mm thickness)
This thick cushion layer provides the signature “hard top, soft bottom” feel — absorbing 60%+ impact for joint safety.
- Material Preparation Check base meets requirements (clean, dry, primed). Stir the elastic layer material thoroughly. Depending on weather/viscosity, add a small amount of water (as needed — test first). Use an electric mixer for ~3 minutes until uniform. Use opened/ mixed material within 1 hour; finish opened buckets same day.
- Application (Thin Multi-Coat Method) Apply in thin layers (max 2 mm per coat) using a notched trowel or rake for even spreading. Wait for each coat to fully cure (~10 hours, longer in cool/humid conditions) before next coat. Aim for total designed thickness (usually 3–8 mm depending on budget/use). Check flow/leveling: If rake marks remain, add dedicated thinner to adjust viscosity. After final coat cures: Test flatness with water flood method. Repair pooling spots with more elastic material; grind off any lumps/grains with a sander.
Step 3: Topcoat / Finish Layer Construction (Interface Agent ~0.12 kg/m² + Water-Based Topcoat ~0.2 kg/m²)
This provides wear resistance, color, anti-slip, and UV protection.
Apply in three coats (wait for full cure between each):
- First Coat: Interface Agent Mix interface agent thoroughly. Add 10–30% quartz sand (by weight of agent) for texture. Stir uniform. Roll or spray evenly with medium-nap roller or spray gun.
- Second Coat: Water-Based Topcoat Two-component: Mix A (hardener) : B (color paint) = 1:14 by weight. Stir well. Add 10% quartz sand (by total mixed weight). Apply with roller/spray.
- Third Coat: Water-Based Topcoat Same mix ratio as second coat (no sand this time for smooth finish). Roll/spray evenly.

Each coat must dry fully before next (typically 4–8 hours per coat, weather-dependent).
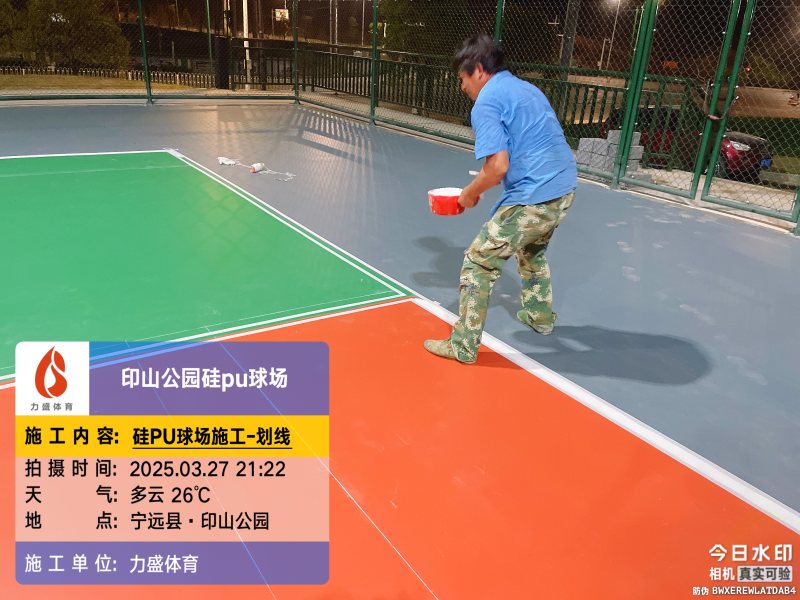
Step 4: Line Marking
Use two-component water-based line paint (A hardener : B color = 1:4 by weight). Mix uniform.
- After topcoat fully cures, mark court lines per official basketball specs (FIBA/NBA standards).
- Apply masking tape along both sides of lines.
- Brush or roll 1–2 coats of line paint.
- Remove tape immediately after surface skins (to avoid pull-up). Allow full cure.
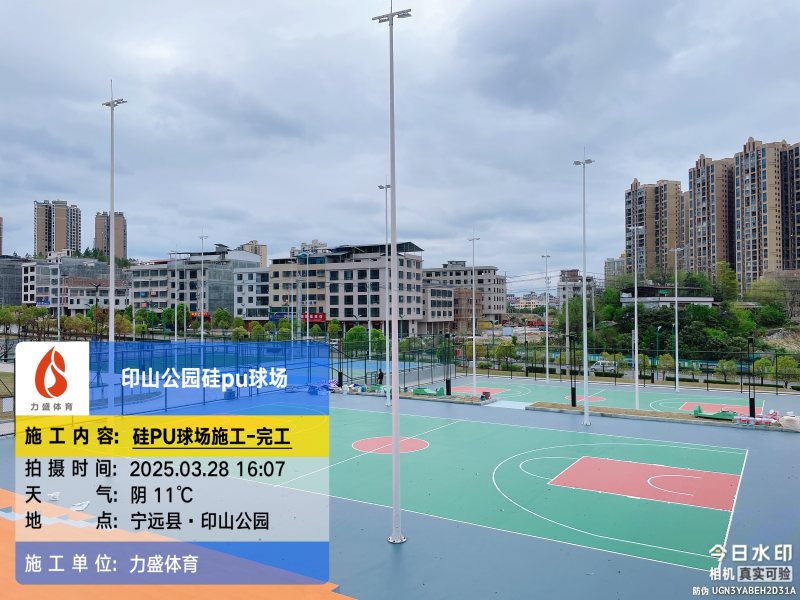
Step 5: Final Cleaning & Acceptance
- Inspect entire surface for defects (unevenness, bubbles, color inconsistency).
- Repair any issues (spot sand/ recoat).
- Sweep/vacuum thoroughly; remove all debris.
- Final walkthrough with client/inspector.
- Document with photos for warranty.
Key Tips & Common Mistakes to Avoid
- Always weigh/measure materials accurately — wrong ratios cause failures.
- Keep surfaces clean between every step (dust ruins adhesion).
- Test small areas first if unsure about weather/material.
- Indoor venues: Ensure strong ventilation to avoid solvent buildup.
- Post-install: No play for 5+ days; protect from rain/traffic during cure.
Ready to install your Silicon PU basketball court? Lisheng Sports supplies premium nano silicon PU materials, TDS, and on-site guidance.
Contact us for free samples, quotes, or project consultation — reply within 24 hours!
- 🌐 Website: https://lishengsports.com/
- 📧 Email: [email protected]
- 💬 WhatsApp: +86 13424122023
Build a court that lasts — choose quality Silicon PU from Lisheng Sports! 🏀